

Do you love bonsai trees? Are you a fan of Lego? If so, then you’re in for a treat! In this blog post, we will explore the fascinating world of building your very own bonsai tree using Lego pieces. Combining the artistry of bonsai with the creativity of Lego, this unique project offers a fun and therapeutic experience for both adults and children alike.
Understanding the Bonsai Concept and its Lego Interpretation
Before we dive into the building process, let’s take a moment to appreciate the beauty and symbolism behind bonsai trees. Bonsai is a Japanese art form that involves cultivating miniature trees in containers, creating a sense of harmony between nature and human intervention. The Lego interpretation of bonsai trees allows us to explore this concept in a playful and whimsical way.
Preparation for Building Your Bonsai Lego Tree
Building a bonsai Lego tree is not only enjoyable but also requires some preparation. We will discuss why this project is fun and therapeutic, as well as provide you with a list of Lego pieces you’ll need. Additionally, we will guide you on setting up your building space to ensure a smooth and organized construction process.
Step-by-Step Guide on Building the Trunk and Branches
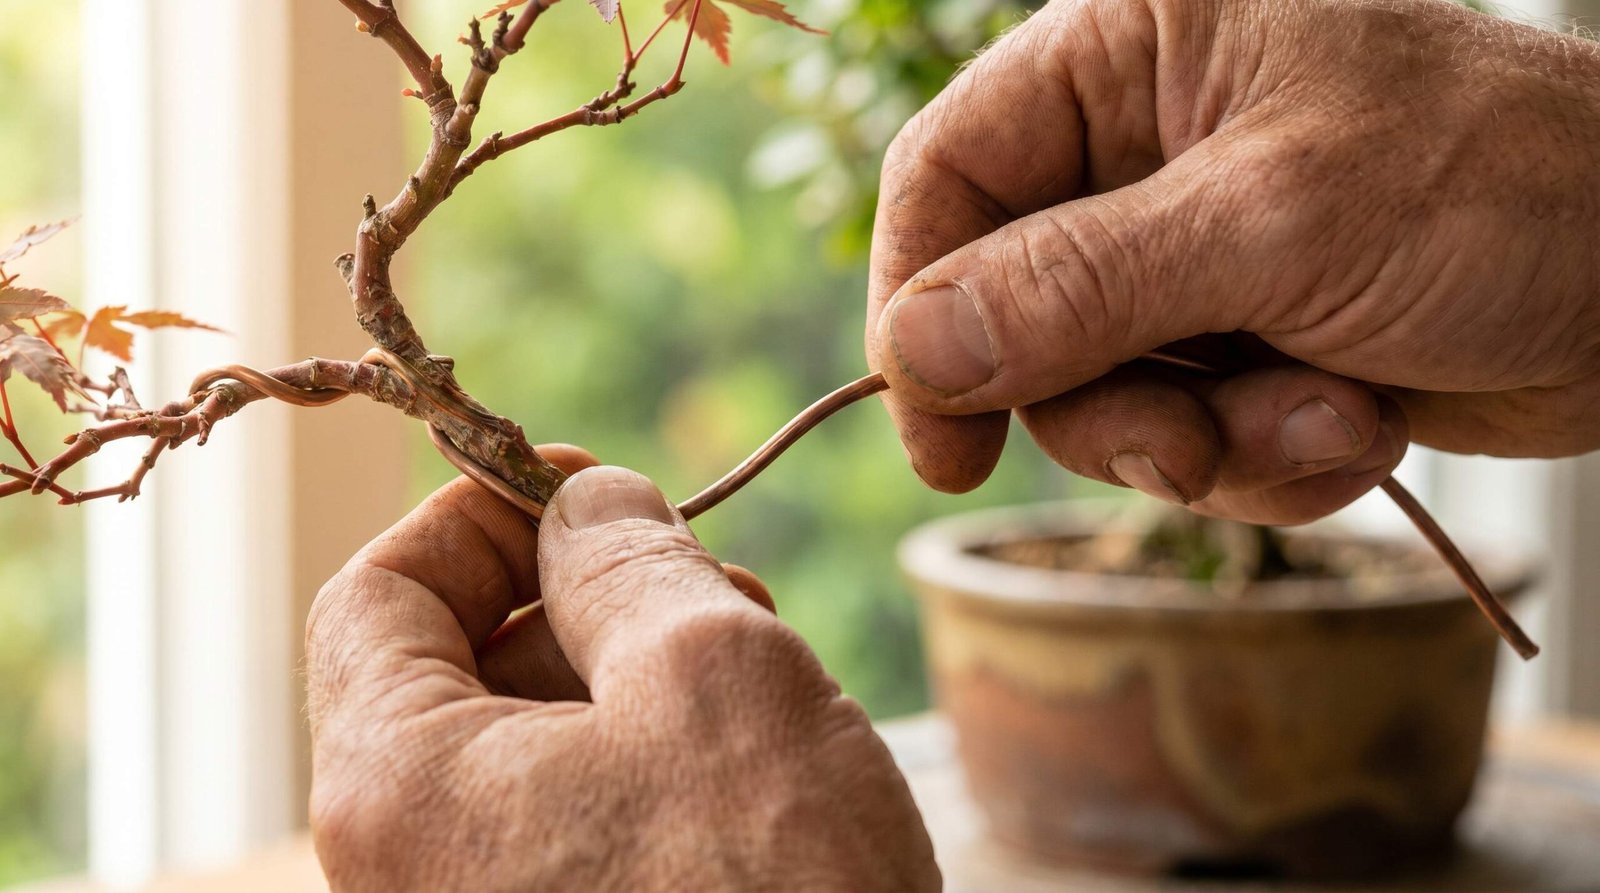
The key to a realistic bonsai Lego tree lies in constructing a sturdy trunk and intricate branches. We will walk you through the process of choosing the right Lego pieces for the trunk, assembling it, and creating lifelike branches that capture the essence of a real bonsai tree.
Designing and Attaching the Leaves
No bonsai tree is complete without its lush foliage. We will show you how to select the perfect Lego pieces for the leaves and guide you through assembling them. Once the leaves are ready, we’ll teach you the art of attaching them to the branches, creating a stunning visual representation of a flourishing bonsai tree.
Adding the Final Touches to Your Bonsai Lego Tree
To truly bring your bonsai Lego tree to life, we will explore the final touches that make it stand out. We’ll show you how to create a Lego pot for your tree, blending colors and textures to add depth and realism. Finally, we’ll discuss different ways to display your masterpiece, allowing you to showcase your bonsai Lego tree with pride.
Whether you’re a Lego enthusiast, a bonsai lover, or simply looking for a creative and relaxing project, building your own bonsai Lego tree is a delightful endeavor. So, gather your Lego pieces and let’s embark on this imaginative journey together, creating miniature landscapes that capture the essence of nature in a playful and unique way.
Understanding the Bonsai Concept and its Lego Interpretation
Bonsai, a traditional Japanese art form, has captivated people around the world with its miniature trees that evoke a sense of tranquility and harmony. The word “bonsai” itself translates to “planted in a container” or “tray planting,” reflecting the meticulous cultivation of these small trees.
The concept of bonsai revolves around creating a miniature replica of a mature tree, capturing its essence and natural beauty in a confined space. Bonsai trees are carefully shaped and pruned to mimic the growth patterns and characteristics of full-sized trees found in nature. Through careful cultivation, bonsai artists aim to create a sense of balance, proportion, and harmony between the tree and its container.
Now, imagine combining this elegant art form with the world of Lego. The Lego interpretation of bonsai trees offers a fresh and playful perspective on this ancient practice. It allows enthusiasts to express their creativity, experiment with different designs, and build their very own miniature arboreal masterpieces using Lego bricks.
By employing Lego as a medium, the possibilities for imagination and customization are virtually endless. You can choose from a wide range of Lego pieces, colors, and textures to create a bonsai tree that reflects your personal style and artistic vision. Whether you prefer a traditional Japanese maple tree or a whimsical fantasy creation, the Lego bonsai enables you to bring your ideas to life in a unique and captivating way.
The Lego interpretation of bonsai also opens up this art form to a broader audience, including children and those who may not have access to traditional bonsai materials or the expertise to cultivate living trees. Building a Lego bonsai tree provides an accessible and enjoyable experience for people of all ages, allowing them to engage with the artistry of bonsai in a hands-on and creative manner.
In the following sections, we will delve into the process of building your own bonsai Lego tree, exploring the necessary preparations, step-by-step instructions, and final touches that will transform a collection of Lego bricks into a captivating miniature tree. So, let’s embark on this exciting journey of combining the timeless beauty of bonsai with the endless possibilities of Lego construction.
Preparation for Building Your Bonsai Lego Tree
Building your own bonsai Lego tree requires some preparation to ensure a smooth and enjoyable experience. In this section, we will guide you through the necessary steps to get ready for your Lego bonsai project.
Why Building a Bonsai Lego Tree is Fun and Therapeutic
Before we dive into the practical aspects of preparation, let’s take a moment to understand why building a bonsai Lego tree can be both fun and therapeutic. Engaging in creative activities, such as building with Lego, has been shown to reduce stress, improve concentration, and promote relaxation. The process of constructing a bonsai tree from Lego pieces allows you to tap into your imagination, focus on the present moment, and experience a sense of accomplishment as your tree takes shape. Building a Lego bonsai tree can be a form of self-expression and a way to unwind from the demands of everyday life.
List of Lego Pieces You’ll Need
To build your bonsai Lego tree, you’ll need a selection of Lego pieces that will serve as the building blocks for your masterpiece. Here is a list of the essential Lego pieces you’ll need:
-
Bricks: Basic bricks will form the foundation of your bonsai tree. Choose a variety of sizes and colors to add depth and texture.
-
Plates: Plates are flat Lego pieces that will be used for creating the trunk and branches of your tree. They provide stability and support for the structure.
-
Tiles: Tiles are smooth, flat Lego pieces that can be used for creating the bark texture or adding decorative elements to your tree.
-
Slopes: Slopes are angled Lego pieces that can be used to create the natural shape and contours of the bonsai tree’s branches.
-
Leaves: Lego leaves come in various shapes and colors. Select the ones that best represent the type of tree you are aiming to create.
-
Accessories: Consider adding accessories such as flowers, birds, or small animals to enhance the overall aesthetic of your bonsai Lego tree.
Setting Up Your Building Space
Creating a dedicated building space will make the process more organized and enjoyable. Here are some tips for setting up your building space:
-
Clear a table or desk: Ensure you have enough space to spread out your Lego pieces and work comfortably.
-
Sort your Lego pieces: Sort your Lego pieces by type, size, and color. This will make it easier to find the pieces you need during the building process.
-
Use containers or trays: Use small containers or trays to keep your Lego pieces organized and easily accessible. This will prevent pieces from getting lost and save you time searching for specific bricks.
-
Have good lighting: Adequate lighting is essential for accurately distinguishing between different Lego pieces and colors. Make sure your workspace is well-lit to avoid any mistakes or frustrations.
By taking the time to prepare your Lego pieces and setting up a dedicated building space, you’ll be ready to embark on the construction of your bonsai Lego tree with ease and enjoyment. Now that you have everything in place, let’s move on to the step-by-step guide on building the trunk and branches of your Lego bonsai tree.
Step-by-Step Guide on Building the Trunk and Branches
In this section, we will provide a step-by-step guide on building the trunk and branches of your bonsai Lego tree. The trunk and branches are the foundation of your tree’s structure, so it’s essential to pay attention to detail and create a sturdy and realistic foundation.
Choosing the Right Lego Pieces for the Trunk
When selecting Lego pieces for the trunk, consider the size and shape you want to achieve. Basic rectangular bricks and plates work well for creating a solid and straight trunk. You can also explore using slopes to add a more natural tapering effect to the trunk.
Assembling the Trunk
-
Start by laying out the base of your trunk using large flat plates or bricks. This will provide stability and support for the rest of the structure.
-
Stack additional bricks or plates on top of the base to build the height of the trunk. Take care to ensure the pieces are aligned and firmly connected.
-
Gradually decrease the width of the trunk as you move towards the top by using smaller bricks or slopes. This will create a realistic tapering effect.
-
Consider adding texture to the trunk by attaching tiles or using different colored bricks to represent the bark. Experiment with different combinations to achieve the desired look.
Creating the Branches
-
Determine where you want the primary branches to emerge from the trunk. These branches will form the framework for the rest of the tree’s structure.
-
Attach plates or slopes to the trunk at the chosen locations to serve as the starting points for the branches. Make sure they are securely connected to ensure stability.
-
Extend the branches by attaching additional plates or slopes, gradually decreasing the width as you move away from the trunk. This will create a natural tapering effect and add visual interest.
-
Bend and angle the branches to give them a realistic appearance. Experiment with different angles and orientations to create a visually pleasing composition.
-
Add smaller branches off the main ones to create a more intricate and realistic branching pattern. Use smaller Lego pieces or slopes to represent the finer branches.
By following these step-by-step instructions, you’ll be able to construct a sturdy and visually appealing trunk and branches for your bonsai Lego tree. Once your tree’s structure is complete, it’s time to move on to the next step: designing and attaching the leaves.
Designing and Attaching the Leaves
In this section, we will explore the process of designing and attaching the leaves to your bonsai Lego tree. The leaves are a crucial element that adds life and vibrancy to your creation. Let’s dive into the steps to create and attach the leaves.
Choosing the Right Lego Pieces for the Leaves
To create the foliage of your bonsai Lego tree, you’ll need to select the appropriate Lego pieces that resemble leaves. Lego offers a variety of leaf-shaped pieces in different colors and sizes, allowing you to choose the ones that best suit the type of tree you want to create. Consider the shape, color, and texture of the leaves to achieve a realistic and visually appealing look.
Assembling the Leaves
-
Sort and organize your leaf Lego pieces based on color and size. This will make it easier to access the pieces you need during the assembly process.
-
Start by attaching the leaf pieces to small plates or tiles. This will act as the base for each leaf cluster.
-
Experiment with different combinations of leaf pieces to create variations in shape and texture. Arrange them in a way that mimics the natural growth pattern of leaves on a tree.
-
Use small clips or hinges to attach the leaf clusters to the branches of your bonsai Lego tree. Ensure that they are securely attached to prevent them from falling off.
-
Continue adding leaf clusters to the branches, gradually filling in the tree with foliage. Vary the placement and density of the leaves to create a more organic and natural appearance.
Attaching the Leaves to the Branches
-
Take care to align the leaf clusters with the branch structure. Look for natural points where leaves would naturally emerge from the branches.
-
Attach the leaf clusters to the branches using small clips or hinges. Ensure that they are firmly attached, but also allow for some movement and flexibility to create a more dynamic and realistic effect.
-
Adjust the positioning of the leaves as needed to create a balanced distribution and an aesthetically pleasing arrangement. Step back and observe your tree from different angles to ensure that the leaves are evenly distributed.
-
If desired, you can add additional smaller leaf pieces or accessories to enhance the overall appearance of the foliage. This can include flowers, fruits, or even small animals to add a touch of whimsy to your creation.
By following these steps, you’ll be able to design and attach the leaves to your bonsai Lego tree, bringing it to life with a vibrant canopy of foliage. With the leaves in place, your tree will start to truly resemble a miniature bonsai, showcasing the beauty and artistry of this unique fusion of Lego and nature.
Adding the Final Touches to Your Bonsai Lego Tree
In this final section, we will explore the additional touches you can add to your bonsai Lego tree to elevate its visual appeal and make it truly stand out. These finishing touches will help bring your creation to life and showcase your attention to detail.
Creating a Lego Pot for Your Bonsai Tree
A bonsai tree is typically displayed in a decorative pot, and you can create a Lego pot to complement your Lego bonsai tree. Consider using small bricks or plates to construct a simple rectangular or round pot. Get creative with colors and textures to match the style of your tree. You can add details such as handles, patterns, or even a small nameplate to personalize your pot.
Blending Colors and Textures
To enhance the realism of your bonsai Lego tree, consider blending colors and textures in the trunk, branches, and leaves. Experiment with different shades of brown, green, and other earthy tones to add depth and dimension. Incorporate various Lego elements such as smooth tiles, textured slopes, or even small flower pieces to create a more lifelike appearance.
Displaying Your Bonsai Lego Tree
Once your bonsai Lego tree is complete, it’s time to find the perfect way to display it. Consider these options:
-
Display Stand: Create a custom display stand using Lego pieces to elevate your bonsai tree. This can provide a stable base and add an extra touch of elegance to your creation.
-
Decorative Tray: Place your bonsai Lego tree in a decorative tray or dish filled with small rocks or sand to simulate the traditional bonsai display style. This will create a serene and authentic setting for your tree.
-
Showcase Box: Build a transparent showcase box using Lego pieces to protect your bonsai Lego tree from dust and display it as a centerpiece. This can be particularly useful if you plan to exhibit your creation or showcase it in a prominent spot.
-
Natural Setting: Integrate your bonsai Lego tree into a small diorama or miniature landscape, complete with other Lego elements such as rocks, flowers, or small figurines. This will create a dynamic and immersive display that highlights the concept of bonsai in a playful way.
Remember to find a location where your bonsai Lego tree can be admired and enjoyed. Consider natural lighting, a spot that showcases its beauty, and a place where it can be easily appreciated by yourself and others.
With these final touches, your bonsai Lego tree will be complete, ready to be admired and cherished. Building your own bonsai Lego tree not only allows you to express your creativity but also provides a therapeutic and rewarding experience. So, display your masterpiece with pride and share the joy of this unique fusion of nature and Lego with others.
RELATED POSTS
View all

Understanding, Using, and Maintaining Bonsai Humidity Trays
December 22, 2023 | by bonsailessons.com